A shirt can fit well in the development size and still fail at the top of the range. If the largest sample pulls across the upper arm while its chest measurement passes inspection, adding more body width may only make the shirt baggy. The issue may be where the size change was distributed, not how much circumference was added overall.
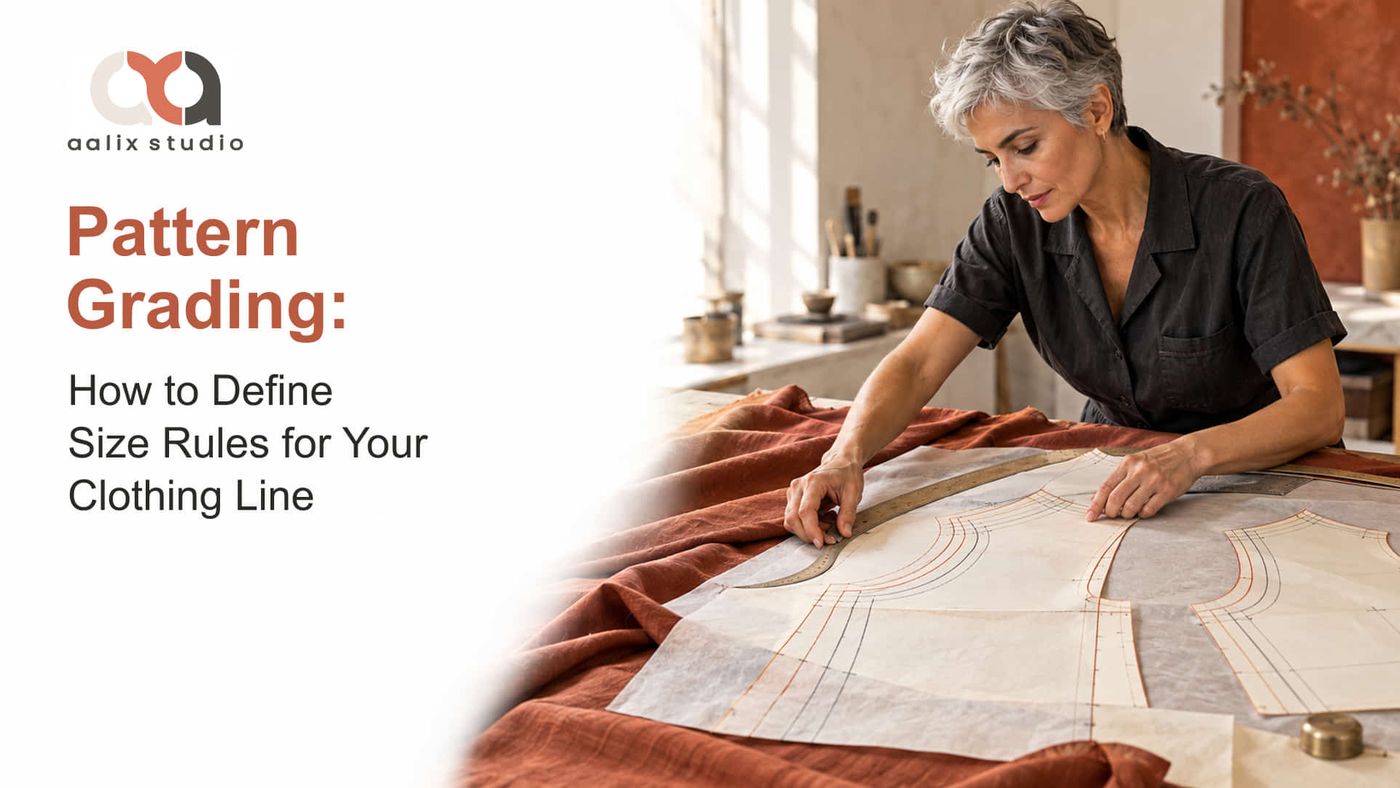
Pattern grading turns an approved base pattern into additional sizes through controlled changes. For a clothing line, those changes need to connect body references, finished garment measurements, and specific movements on the pattern. A supplier should know how much each size changes, where that change belongs, and what evidence will be used to approve the result.
Establish What Each Size Is Meant to Fit
Start with the target wearer and product category. A fitted woven shirt and a relaxed overshirt can serve the same customer group while requiring different garment measurements. The body reference describes the wearer; the fit specification describes how that garment should sit and move. Neither can be inferred reliably from labels such as XS, S, M, L, or XL.
Build a Body Reference Before Choosing Increments
A clothing size chart should state whether its figures describe bodies or finished garments. For body measurements, define chest, waist, hip, and relevant lengths for each size using data appropriate to the intended population. Review the relationships between measurements as well as the individual circumferences. The same chest measurement does not guarantee the same posture, torso length, or body shape.
For a small label, published sizing data can provide a starting framework. Compare it with consistently measured target wearers and fittings, and record where the proposed fit profile falls short. A reference garment can help establish silhouette and ease, but its dimensions alone do not reveal the bodies it was designed for. Treat an untested framework as provisional.
Approve a Base That Can Anchor the Range
Choose a development size supported by a suitable fit model or form, considering both customer relevance and its position within the range. Resolve balance, mobility, and construction before extending the pattern. A block is the underlying pattern foundation for a fit profile; grading an unresolved block simply carries its problems into additional sizes.
Fabric belongs in that approval. Aalix Studio's Vir Maison collection development documents technical patterns, construction planning, and fabric selection within the same project. Record the tested material and finishing conditions alongside the approved base. A substitute fabric may alter fit even when the pattern remains unchanged.
Turn Body Differences Into Garment Targets
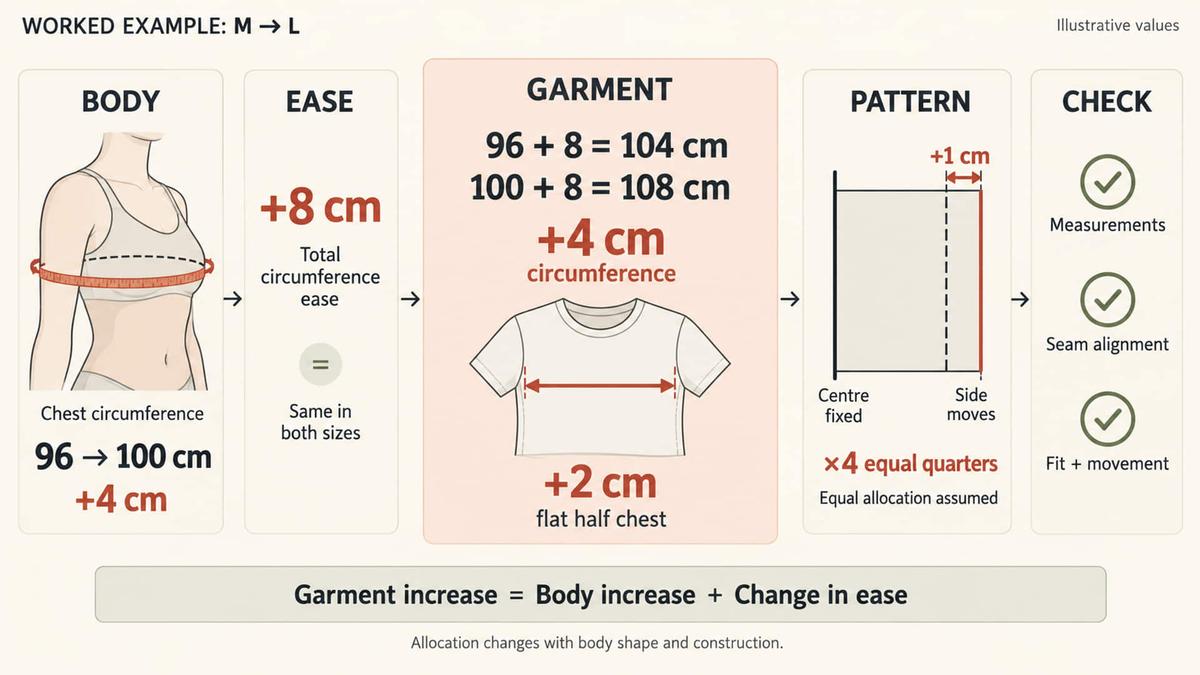
To establish pattern grading rules, calculate the difference between adjacent body sizes at each relevant location. Then account for any intended change in ease, the difference between the body and finished garment at that point. In practical terms, the garment increment equals the body increment plus the change in ease. If measurement sources disagree, compare their methods and fit populations before deciding which figures govern the range.
Follow One Complete Chest Calculation
Consider a hypothetical woven shirt. The base wearer measures 96 cm around the chest and the next size measures 100 cm. With 8 cm of chest ease in both sizes, finished garment circumferences become 104 cm and 108 cm. The increase is 4 cm around the garment, or 2 cm in the half chest measured flat.
These numbers illustrate the calculation rather than recommend a sizing system. In a simplified symmetrical body with equal front and back allocation, each quarter gains 1 cm at chest level. If centre lines remain fixed, that width increase may sit at the side seam. Shaped panels, darts, or unequal front and back proportions can require a different distribution. The assembled circumference still has to reconcile with the target.
Constant ease is only a starting hypothesis. The same 8 cm represents a smaller proportion of a larger chest, but that alone does not justify adding room. Compare silhouette and movement across sizes in the selected fabric. If testing supports 9 cm of ease in the next size, its target becomes 109 cm: a 5 cm garment increase for a 4 cm body increase.
Check Lengths and Details Independently
Shoulder width, sleeve length, and body length need their own targets. They should not simply grow by the same percentage as the chest. A pocket may keep its dimensions while moving with a body landmark; a neckline may need a smaller change than the body width. Decide which details stay constant and which follow the size progression.
When reconciling the assembled garment, check pattern dimensions at stitching lines. Cutting edges include seam allowance, which should be managed separately so the intended seam width is preserved. Aalix Studio's fashion and pattern development expertise places pattern work alongside technical design, so measurement targets, construction, and pattern changes can be resolved together.
Write Instructions the Pattern Maker Can Reproduce
For garment size grading, finished measurements define the target while point movements explain how the pattern reaches it. Name the points, units, size intervals, and reference directions. In CAD software, values may represent movement from the base size or from the adjacent size. The receiving specialist needs to know which convention applies.
Define Point Movements and Size Intervals
Returning to the shirt example with constant 8 cm ease, a rule entry might read: front body, chest side-seam point, M to L, 1 cm outward and zero vertical movement, centres fixed. That entry defines one point for one transition. The corresponding back allocation and connected seam shaping still need review; a single point cannot define the entire garment.
Pattern grading instructions should also explain accumulation. If the same point moves another 1 cm outward from L to XL, its total displacement from M is 2 cm. Entering 1 cm as the total would create a different result. Smaller sizes need explicit transitions too, including intentional zero movements, so missing data cannot be mistaken for a fixed point.
- Name the approved base revision, size order, units, and measurement methods.
- Specify increments, point movements, and exceptions for every relevant size interval.
- Identify validation samples, approval responsibility, and the revision released for production.
Keep Tolerances Separate From Grading Rules
Tolerances describe permitted variation from a target; they are not the planned difference between sizes. Checks before and after washing can produce different results, so the specification should state the assessment conditions. Shrinkage assumptions belong separately. If a sample consistently misses its target, investigate the cause rather than widening the tolerance and hiding the discrepancy.
Recognize When the Progression Needs to Change
A broad clothing size chart does not prove that one block can serve the entire range. Compare each proposed transition with the body references and intended silhouette. There is no universal size at which increments must change or a second block becomes necessary. Those decisions need evidence from the actual population, garment, and fit profile.
Suppose a provisional range adds 4 cm at the chest, but the body references require 6 cm at one transition. With unchanged ease, another 2 cm of garment circumference is needed. That still does not tell you where to place it. Reassess front and back allocation and adjoining pieces before changing the side seams. If circumferences pass but front balance repeatedly fails, investigate shape or the underlying block.
Do not change pattern grading rules because one sample fails. First compare its actual measurements with the specification, then assess fit on the intended body reference. A sewing discrepancy, fabric substitution, or unsuitable fit model can resemble a grading problem. Separate those causes before revising the range, and retest every size affected by the new decision.
Validate the Measurements and the Garment
Pattern grading needs checks beyond a tidy pattern nest, the overlay that shows multiple size outlines together. Review the overlay for unexpected movement, then compare every size with its targets. Walk adjoining seams to check stitching-line length and alignment. Preserve intentional differences, such as sleeve-cap ease, instead of forcing every joined edge to match exactly.
Select Samples That Challenge the Rules
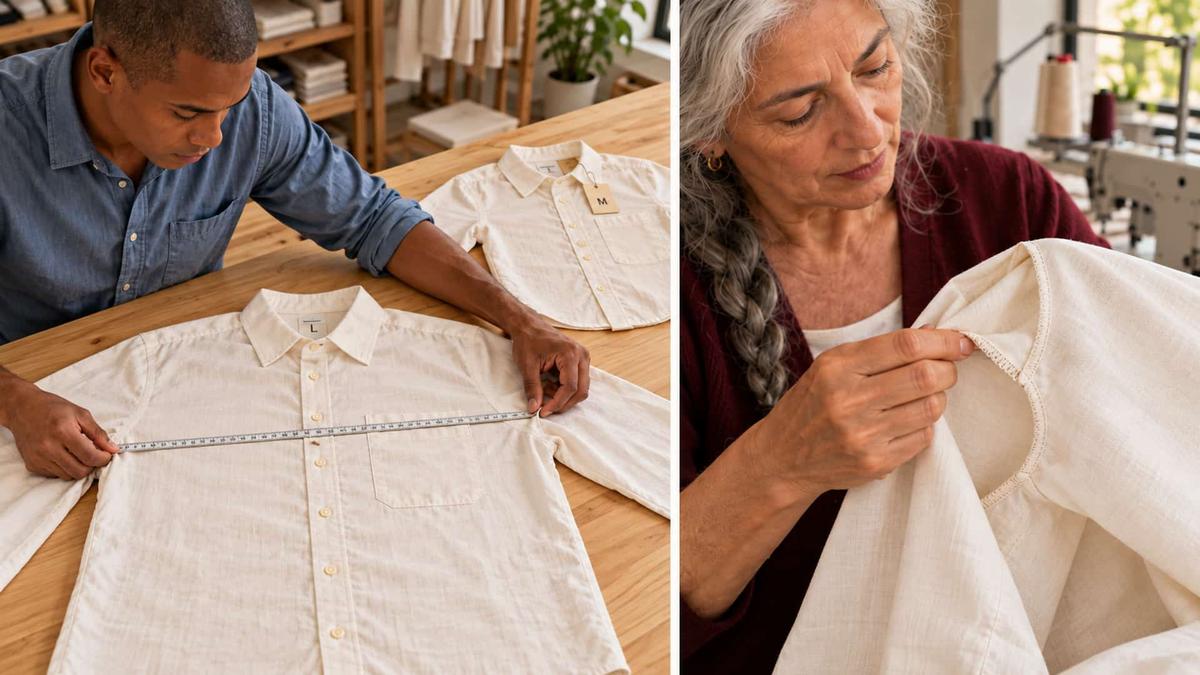
For garment size grading, inspect range extremes and transitions where increments or blocks change. A new or unproven range may justify a full physical size set. Use representative bodies and movements appropriate to the product. If a shirt lifts excessively during reaching despite meeting chest targets, investigate the armhole and sleeve relationship before adding width to the body.

Use Digital Review to Direct Physical Testing
Digital review can highlight proportion changes and questionable sizes before sewing. Its reliability depends on suitable avatars, patterns, and fabric inputs. Aalix Studio's article on 3D garment visualization explains how digital review relates to physical sampling. Use simulation to focus questions; use sewn garments to assess material response, construction, movement, and comfort under wearing conditions.
Before releasing the rules, ask the supplier to return one interpreted size transition with calculated measurements. This checks both understanding and file transfer. A sleeve correction also requires review of its lining and adjoining pieces. The grading package should identify which pattern files and specifications belong together and which earlier revisions they replace.
Conclusion
Approve pattern grading only when a complete size transition can be explained and supported by measurements and fit evidence. The designated technical approver should record the decision against specific pattern and measurement revisions, including the fit evidence and any unresolved conditions. That record determines what is cleared for production. Publish the customer-facing clothing size chart from the same approved sizing system, with its measurement basis stated clearly.
Pattern Grading FAQ
What is pattern grading?
It creates additional sizes from an approved base pattern through controlled changes to defined points and dimensions.
How are garment size increments calculated?
Combine the difference between adjacent body sizes with any intended change in garment ease. Verify those increments against the finished garment measurements.
Can one rule serve every size?
Not always. Changing body proportions may require different increments or another block, supported by fit evidence.
Can digital review replace physical fitting?
Simulation helps identify proportion issues, but sewn samples remain necessary to assess construction, material response, movement, and comfort on representative bodies.